This guide provides step-by-step instructions on how to add an account to your Crescent 360 portal. It explains the different options for adding accounts, the process of verifying your identity, and how to manage your account connections. By following these steps, you can easily integrate all your accounts into one convenient platform.
1. On the Home tab in your Crescent 360 portal, you’ll see your list of connected accounts on the left side. Click on the Add Account link to begin adding a new account.

2. For accounts that you have an online account, select the first option. Other accounts can be manually added using the second option. However, you would need to periodically update the balance information on any account that cannot be connected directly.

3. Search for the name of your account institution using the search box.

4. Select the corresponding institution from the list.

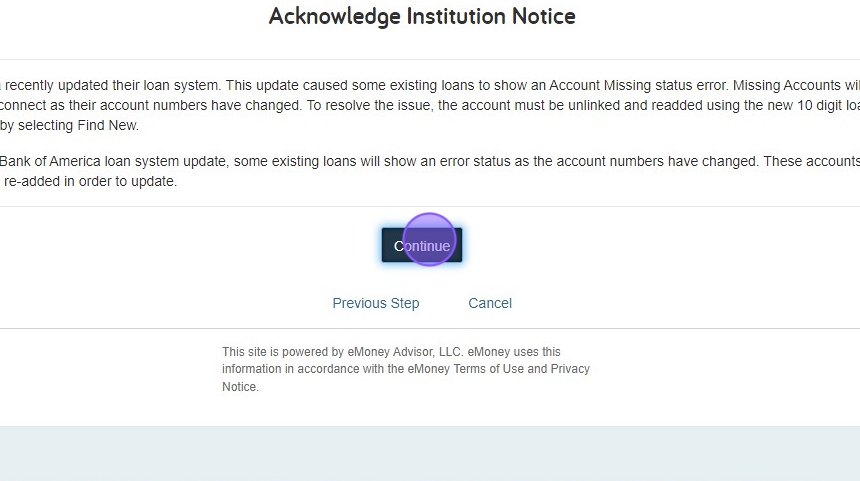
5. Some connections may have notifications to read first. Click continue to proceed.
6. Depending on the process for verifying your identity at this institution, the login steps may vary and could include 2-factor authentication such as entering a code received via text message, phone call or email or answering security questions. Complete all steps for this institution.

7. Some institutions may require that you acknowledge that your data is being shared with our software. Complete the acknowledgement and agreement to share your data.

8. Once the verification is completed, your portal will redirect to your list of accounts. To get back to the Home page overview, select the Home link at the top of the page.
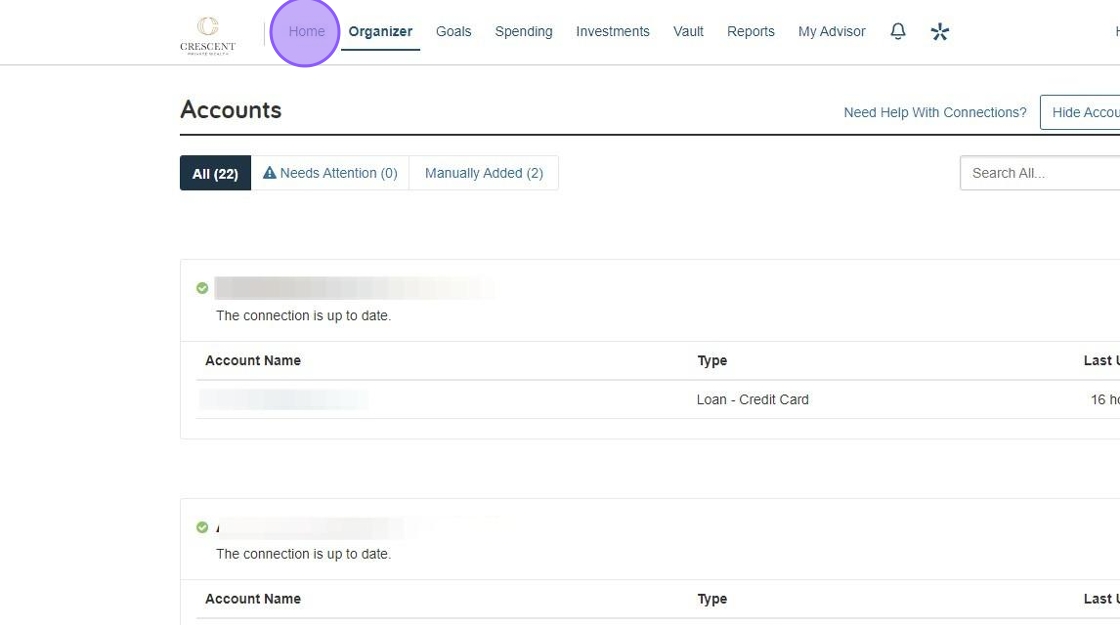
9. Under your accounts, you will now see the account added, under the relevant account type section. To see and manage all your account connections, click on the View All link in this area.

When your wealth carries complexity, your advisory relationship should carry clarity.